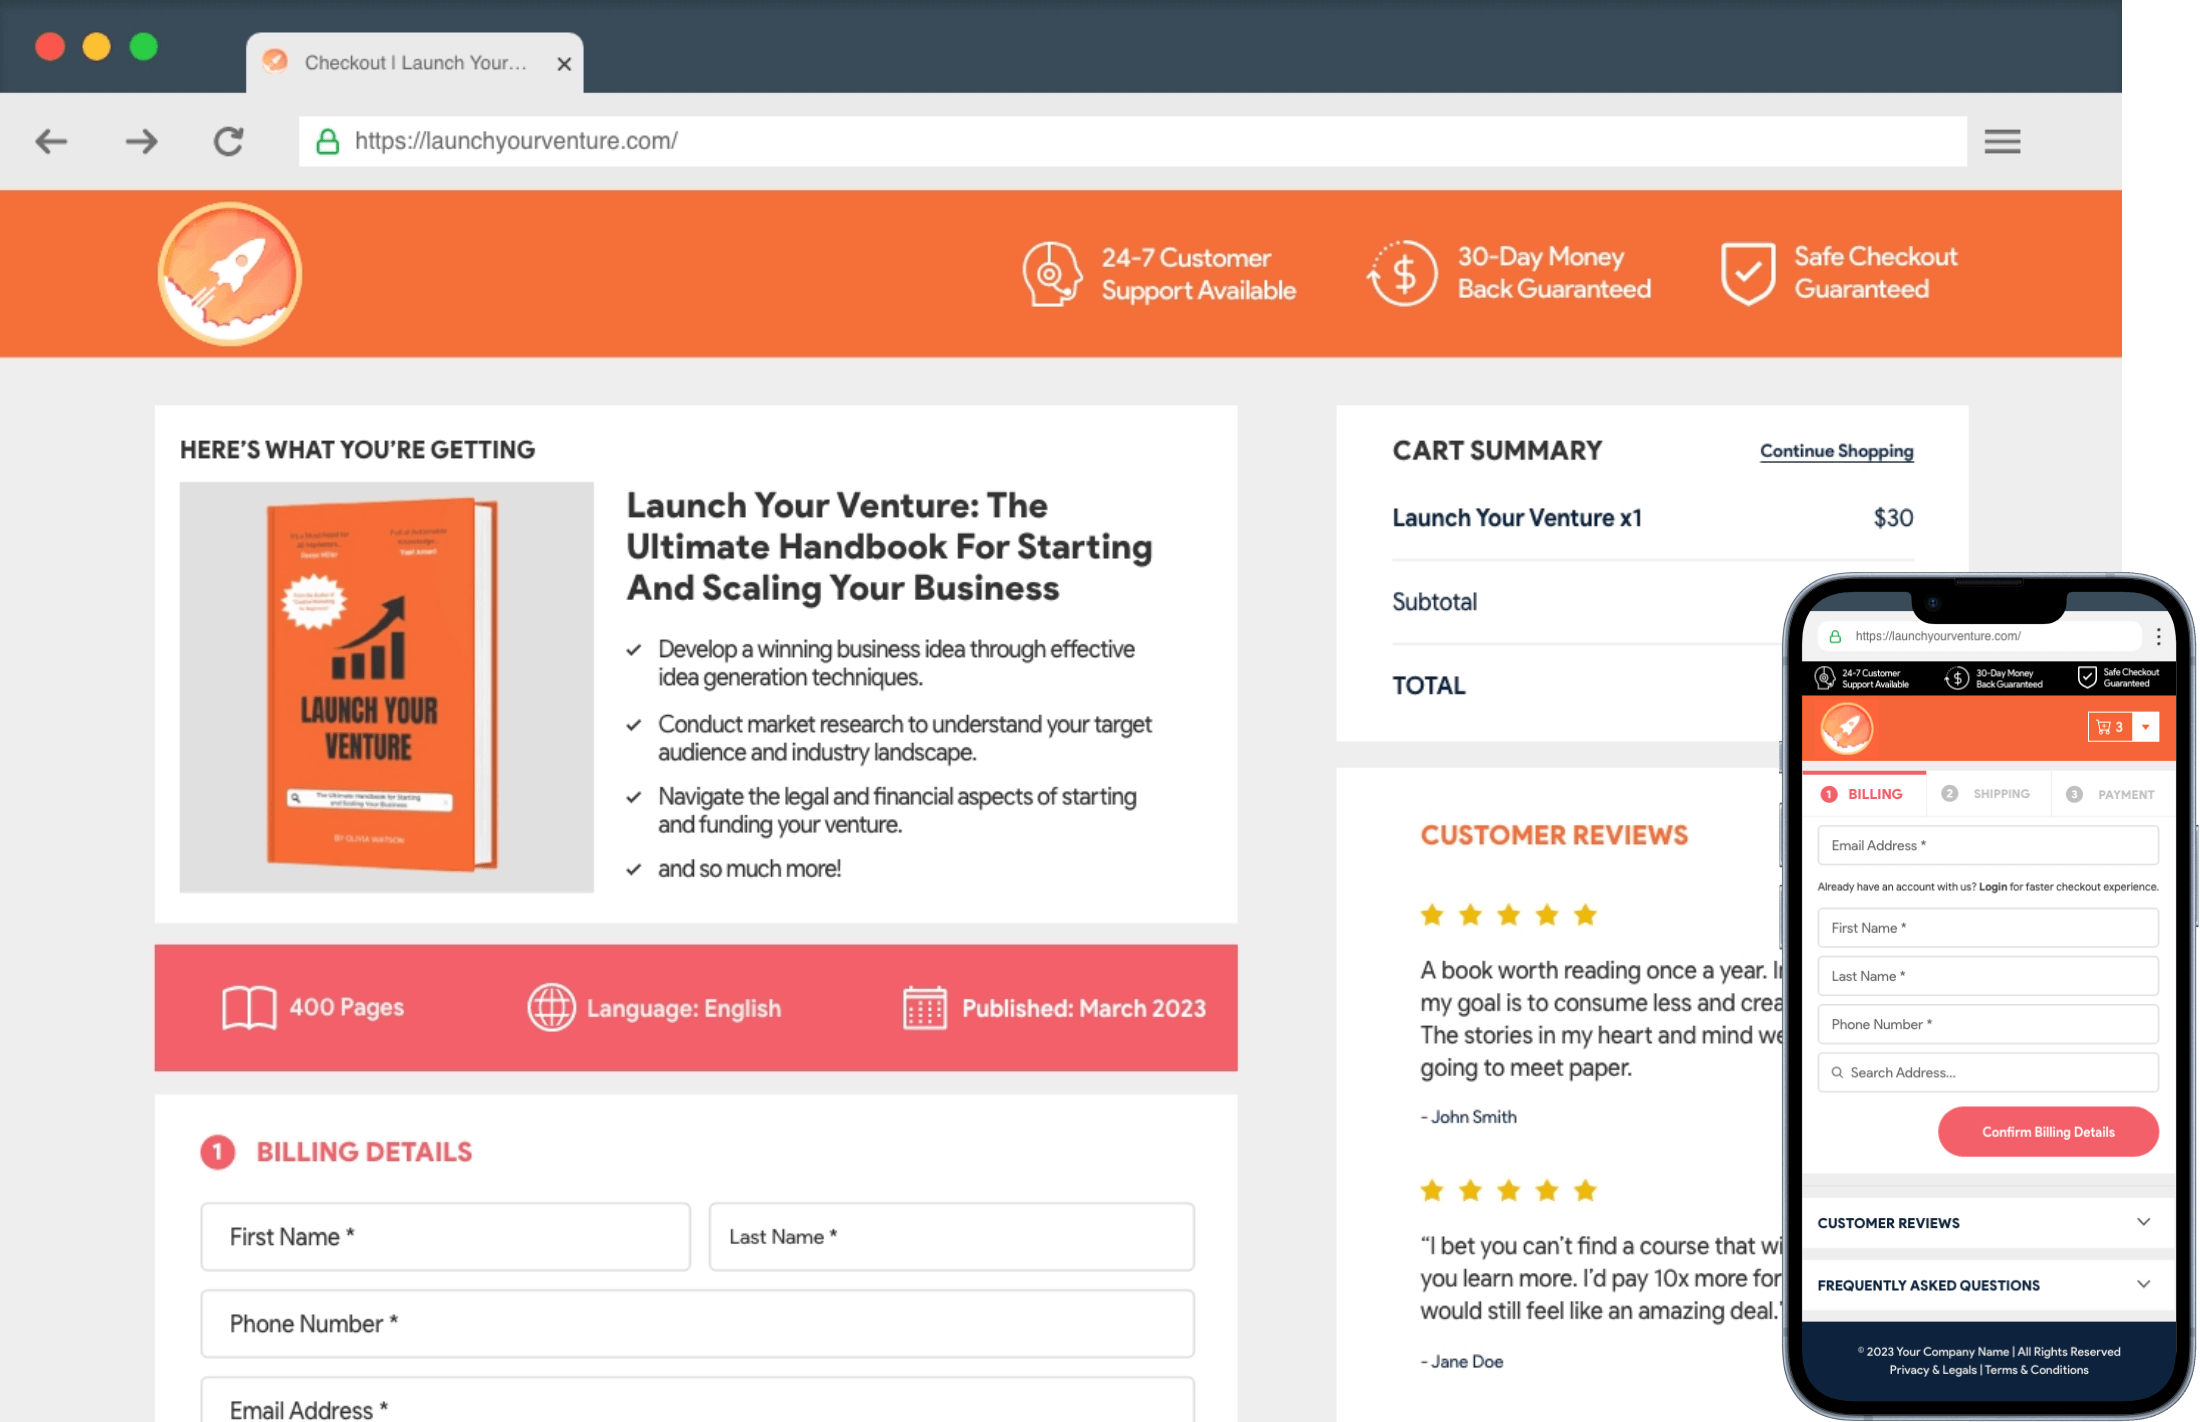
Welcome to WC Plus! With this revolutionary plugin, you can enhance your website’s performance, engage users, and shoot up sales remarkably like never before. It simplifies the WooCommerce checkout process, making it smooth, faster, and easier.
We’ve listed some essential steps below you’ll require to set up the plugin.
Installation
This is the first step to get started with the plugin. Since this is a premium plugin, you have to purchase it first to get its installation ZIP file. Once you have the file at hand, explore this guide on how to install the WC Plus plugin.

Configuration
There are several steps in configuration. They are:
1. Layouts
WC Plus has three pre-defined layouts for General Ecommerce, Single Product Focus, and SaaS/Course/Membership. Each one has a unique set of designs and appears for respective products and services.

Click on the link for more information about Layouts.
2. Branding and Colours
Branding and colors let you personalize the appearance of the checkout page to grab more traction. You can add a logo, favicon, and various colors to different parts (header, sidebar, body, footer, custom) of the page.
Click on the link for more information about Branding and Colours.

3. Key Selling Points (KSPs)
By configuring Key Selling Points (KSP’s), you can gain customer trust and shoot up conversions. Customers will feel safe seeing that the checkout process is secured.
Click on the link for more information about KSPs.

4. Options
You can enable address autocomplete options using the Google Places API and Geoapify API to save customers time during the checkout process.
Click on the link for more information about Options.

5. Cart
Lets you create a sidebar or popup cart with various personalization to impress customers. You can also upsell products to make more sales.
Click on the link for more information about Cart.


