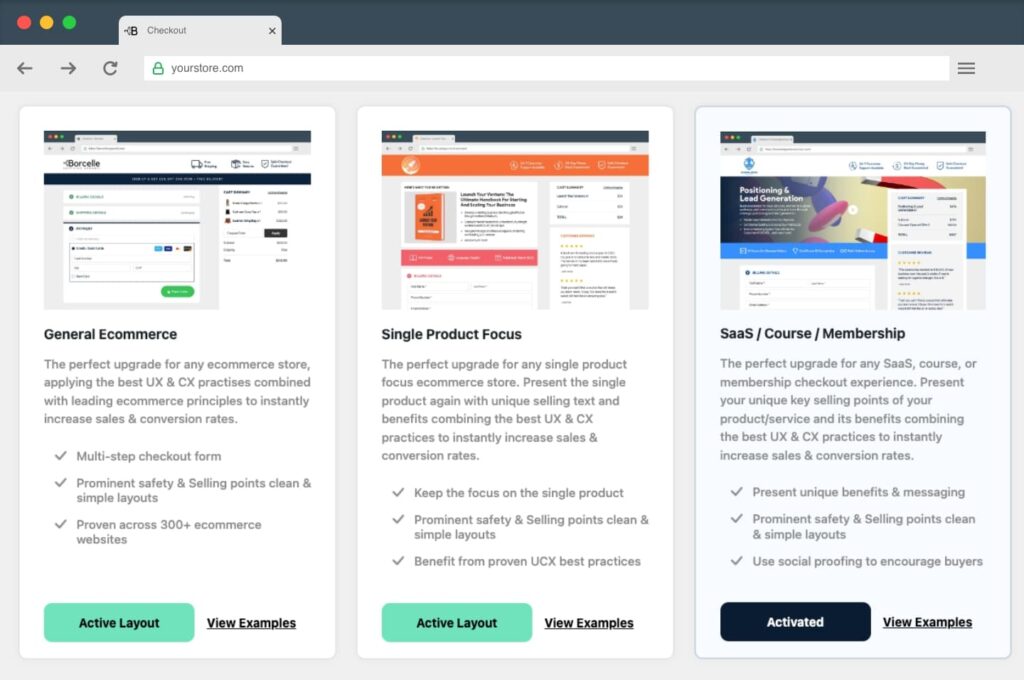
By configuring Key Selling Points and Other Conversion elements, you can gain customer trust alongside improving sales and conversions.
You’ll find three tabs in this section. They are the Header, Body, and Sidebar. Take a look at below what you can configure from these tabs.
1. Header
Go to WC Plus > KSP’s > Header. You can configure your checkout page’s header key selling points from this option.

Things you can configure from the Header tab are the left KSP icon, left KSP text, middle KSP icon, middle KSP text, right KSP icon, and right KSP text.
To add an icon, click on the particular KSP icon box. It will open up a box, including a list of icons. You can select a desired icon from this list.
After that, click on the right-side text box to add your copy.

Once you are done, press the Update Settings button.

2. Body
Come to the Body tab. You’ll get options to configure the payment step key selling points. You can ensure customers by adding required icons and texts that your payment processing is secured. Customers’ payment-related information will never be theft.
Toggle on the option under this option first. Add necessary icons and texts the same as we showed above. Save changes by hitting the Update Settings button.

3. Sidebar
The Sidebar tab will let you customize the Sidebar Key Selling Points, FAQ, and Custom Sidebar Content. Let’s do it.

Sidebar Key Selling Points
You can highlight any of your key selling points on these boxes. These could be Free Shipping, Refund Guarantee, or anything.
But don’t forget to toggle on the option first and save changes by hitting the Update Settings button.

FAQ’s
Toggle on the FAQ option to add answers to any frequently asked questions. You may answer which payment methods you accept, conditions to refund, shipping policies of particular products, etc.
You can add as many FAQs as you want. Just hit the Add FAQ button. Once all the questions are added and answered, save them by hitting Update Settings button.

Custom Sidebar Content
This option lets you add custom texts to the sidebar, which isn’t possible using the default option.
Type your desired custom text in the box. The box provides you with a classic editor that allows you to make your particular texts bold, italic, aligned, and else.
Toggle on the option to display them on the sidebar. Hit the Update Settings button to save the changes.

What’s next? Set Additional Options/Extras
We’re constantly adding new features to the plugin, including popup/sidebar carts, and more! Choose which features you wish to use here.


