The Checkout Field Editor in WooCommerce websites allows you to customize the checkout process by adding, editing, or removing billing and shipping fields to simplify data collection and user experience. Let’s see how to use the Checkout Field Editor.
Navigate to WC Plus > Checkout Field Editor. You’ll see two tabs on the page: Billing Fields and Shipping Fields.
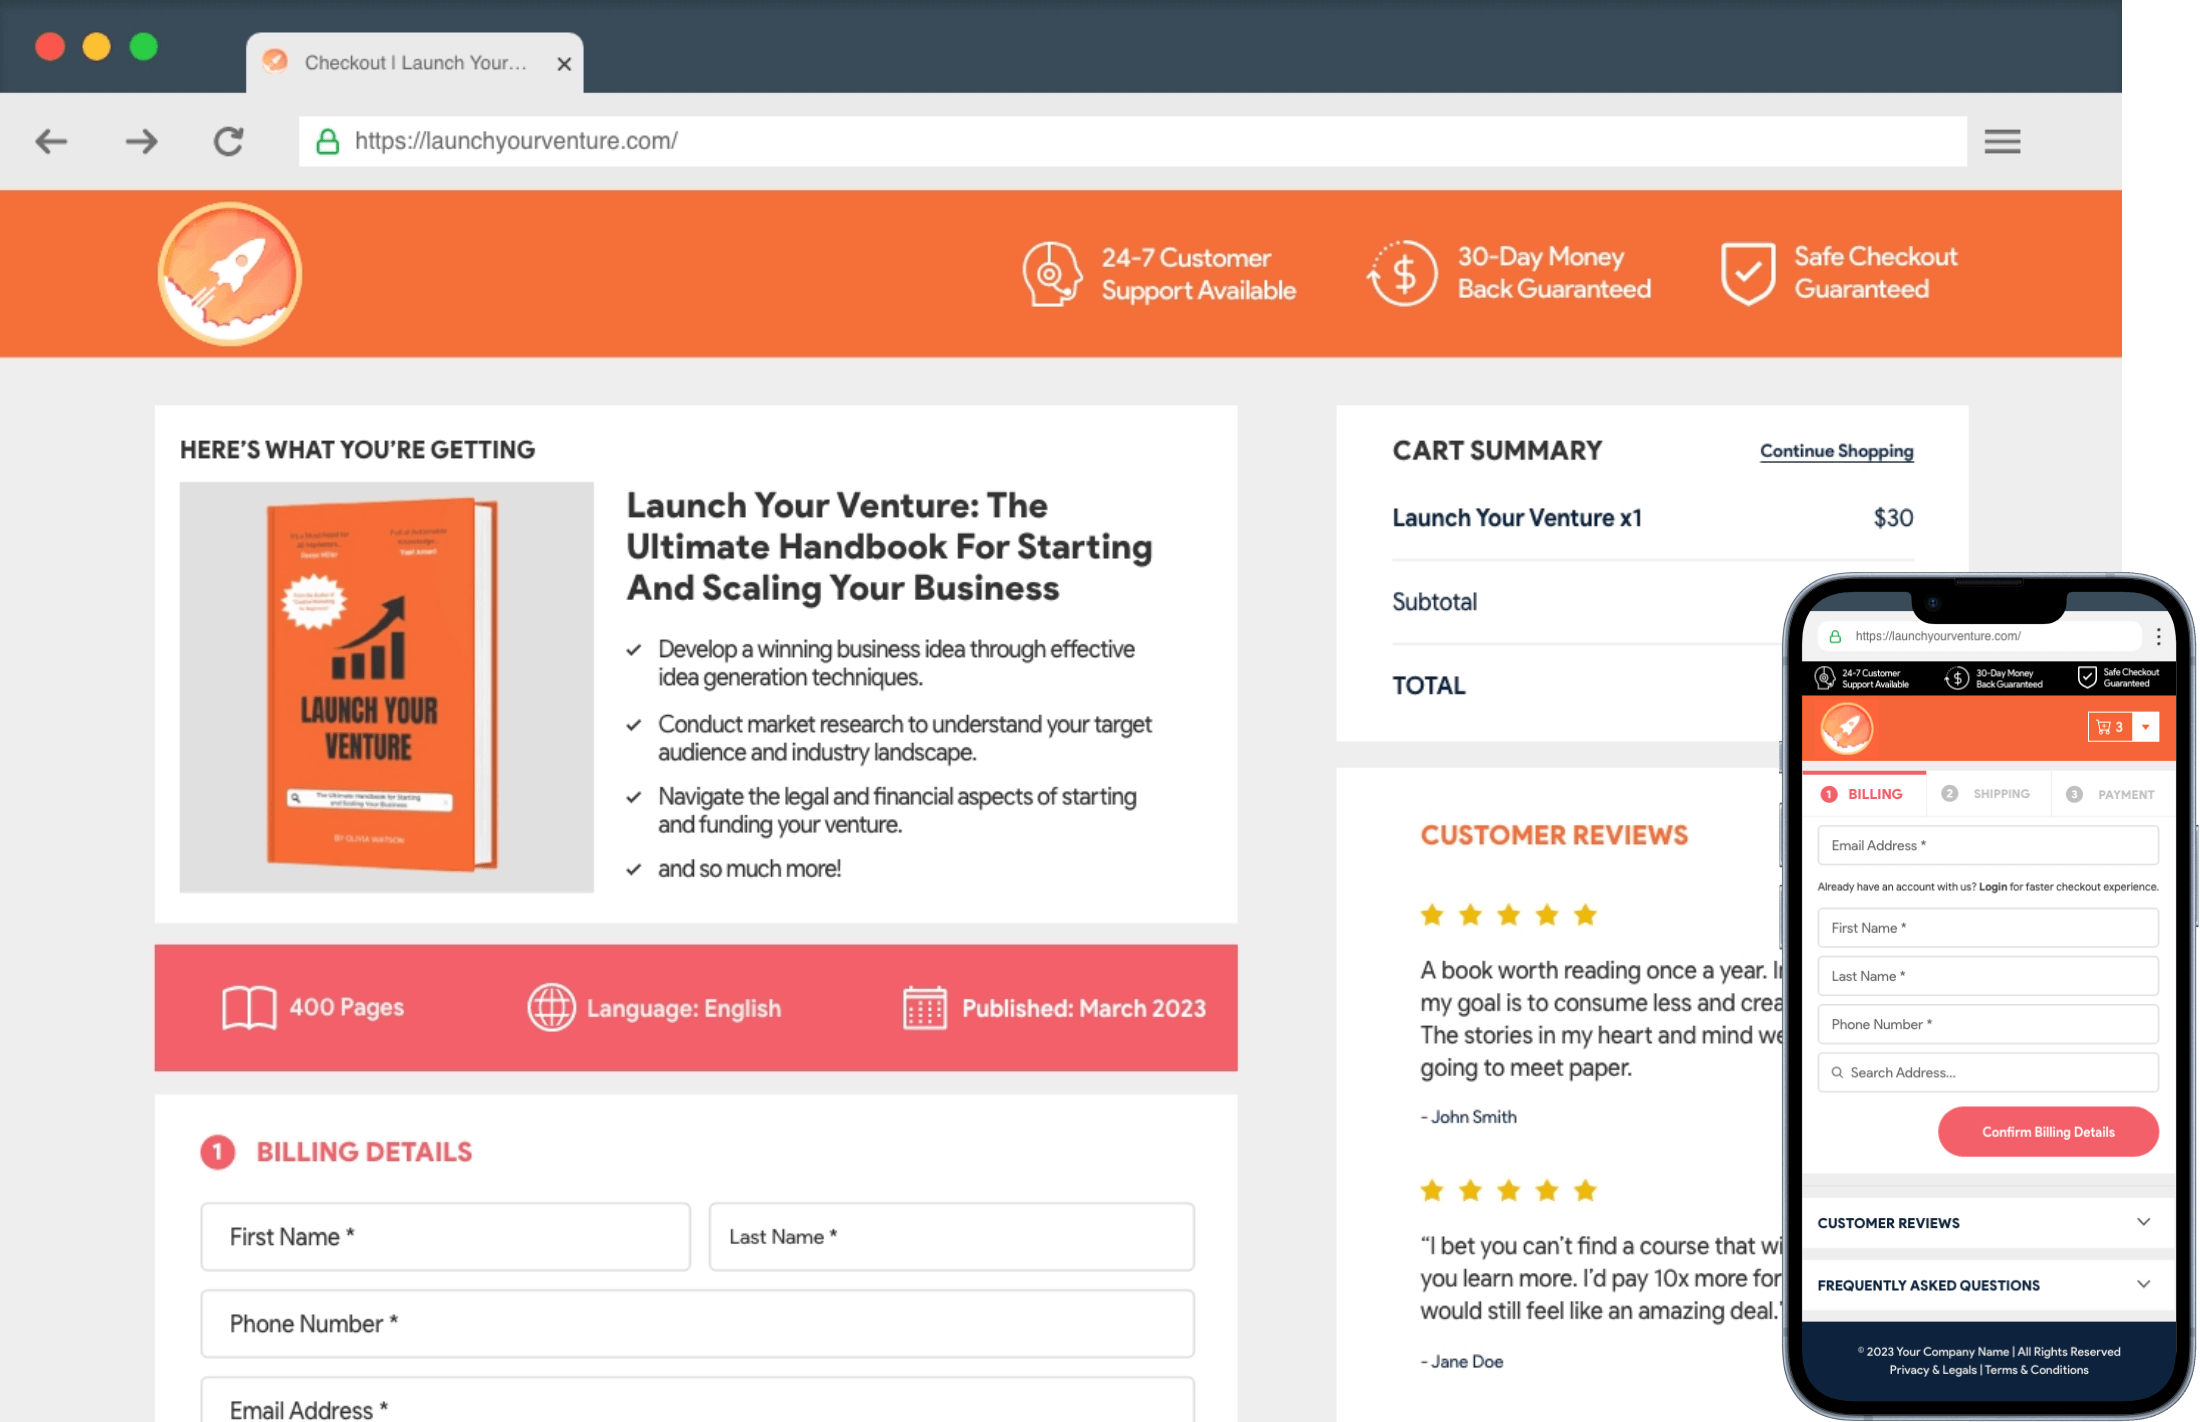
Billing fields cover a set of fields used to cover payment-related information, like names, addresses, emails, and phone numbers of customers.
Shipping fields are useful when the shipping address is different from the billing address. These fields help ensure that the products are sent to the correct location.

Configuring Billing Fields
First, come to the Billing Fields tab. You’ll see there are already some fields created and defined with name, label, placeholder, type, and else.
You can add new fields or enable, disable, edit, and delete the existing fields.

How to Add New Field
Come to the Billing Fields tab of the Checkout Field Editor again. Click the Add New Field button to create a new field.

This will take you to a new page, as shown in the image below. You have to provide the required information in the boxes below.

First, select a type for the new field. Clicking the dropdown icon will show up a list. Select the type you want for the field. Let’s select Email type for this tutorial.

Once the type is selected, do the necessary things as listed below and marked on the image.
• Set a name
• Rename the Label
• Add a Placeholder text (optional)
• Set a Default Value (email address or else)
• Define a CSS Class (leave it empty if you aren’t a developer)
• Set how wide should be the field
• Choose a validation option (email, phone, postcode, state, number, or URL)
You can do them alone. Just click with your cursor on the boxes. You’ll be allowed to type.

You can even configure conditions, defining where this field will be displayed. We have covered a separate documentation post on how to use the Conditional Display option.
How to Edit a Billing Field
Click the Edit button of a respective that you want to edit.

A new page will open where you can update settings for the field. You can do the following things:
• Rename the Label
• Add a Placeholder text (optional)
• Set a Default Value (email address or else)
• Define a CSS Class (leave it empty if you aren’t a developer)
• Set how wide should be the field
• Choose a validation option (email, phone, postcode, state, number, or URL)
Note: You cannot change the type and name while editing an existing billing field.

How to Disable/Enable a Billing Field
To disable a particular field, simply toggle it off.
Reversely, to enable a field, just toggle it on.

How to Delete a Billing Field
Select the billing fields by placing a tick mark. Then, hit the Delete button. The respective billing fields will be deleted in a few seconds.

Configuring Shipping Fields
Once you are done with billing fields, go to the Shipping Fields tab.
Here again, you can add new fields or enable, disable, edit, and delete the existing fields.
The process is exactly the same as configuring billing fields, as described above. So, we have not described the entire process again here as it would be repetitive.

Hope you enjoyed the guide.