Support Article

Choosing A Layout

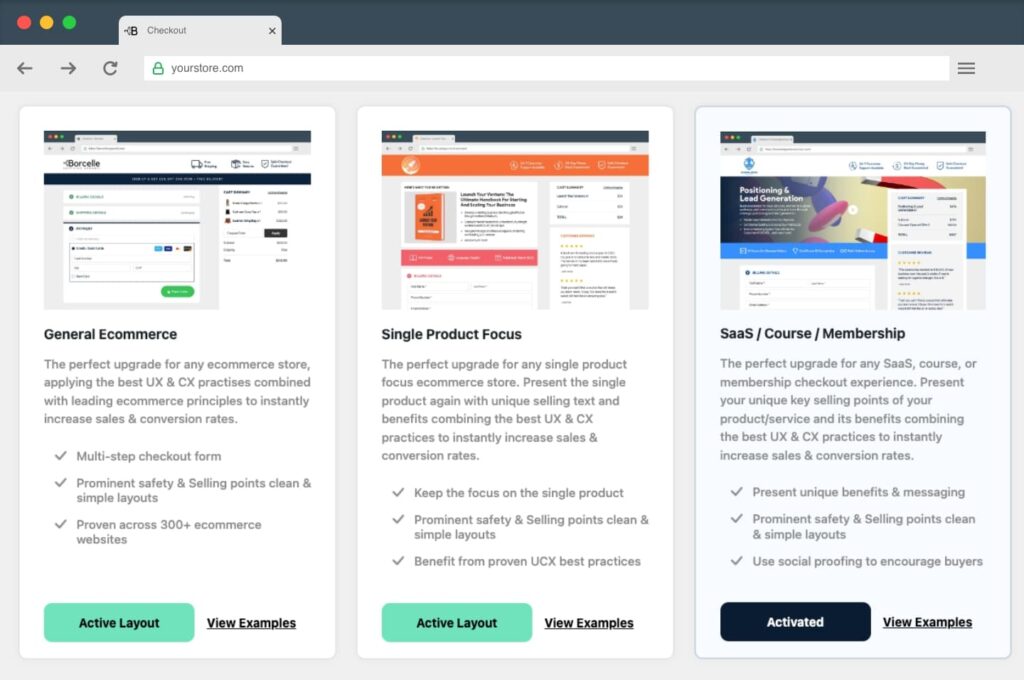
The Layouts tab allows you to select and apply the most suitable template on the Checkout page. Currently, the WC Plus plugin has three templates. Here’s how to explore and activate them.

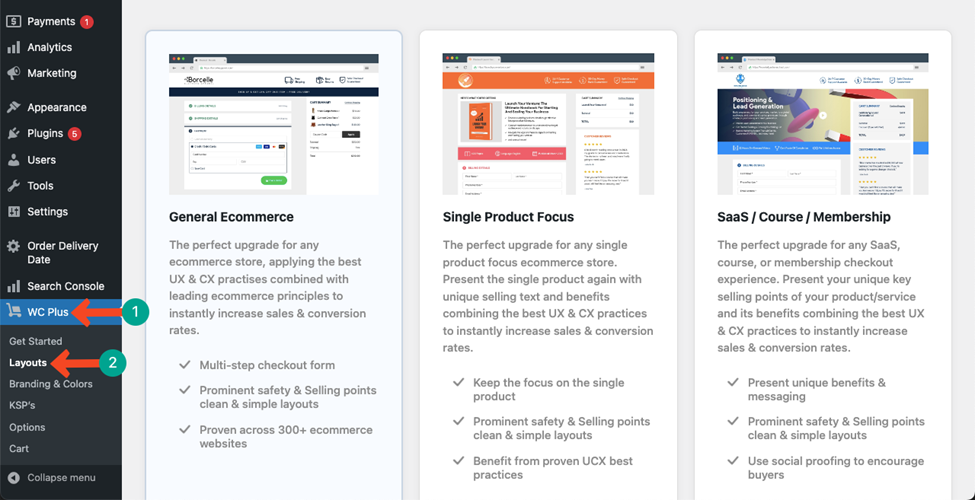
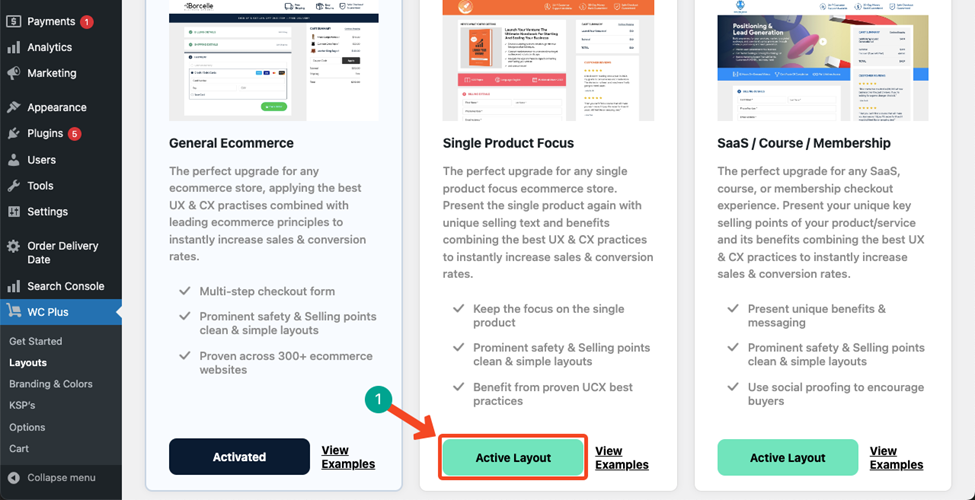
Go to WC Plus > Layouts. Scrolling down the page a bit, you’ll find the Active Layout button. You’ll get all the three layouts here.

Click the Active Layouts button on the layout you like. You can see the left layout is already Activated.

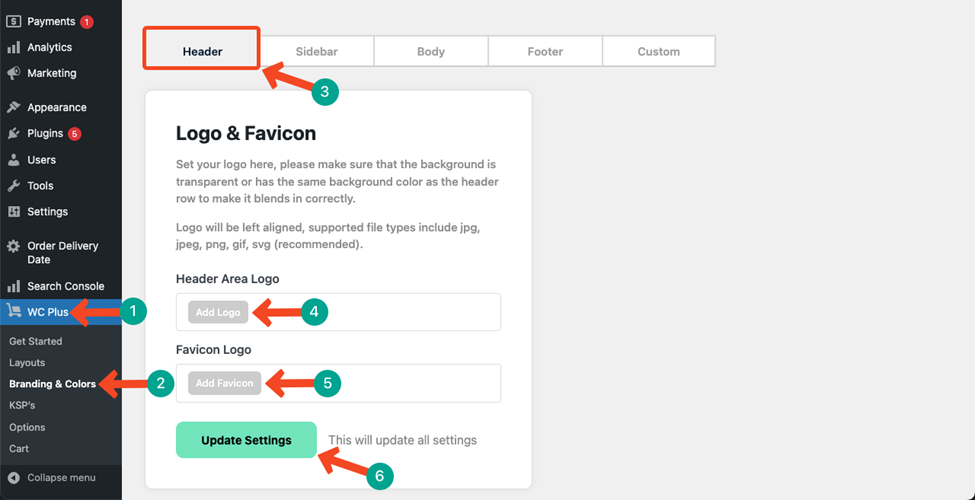
What’s next? Set Branding & Colours

Set the colours & logo to match the rest of your website’s branding choosing key colours for each area of the checkout layout & design.

Get Started

Step #1

Cart and Other Features

WC Plus provides you necessary features by which you can provide a wonderful shopping experience to the customers…

Step #2

Options

The Options menu lets you enable the address autocomplete options and some more customizations…

Step #3

Key Selling Points

By configuring Key Selling Points and Other Conversion elements, you can gain customer trust alongside improving sales and conversions…

Step #4

Brand & Colors

The checkout page has several mandatory parts and options…

Step #5

Layouts

The Layouts tab allows you to select and apply the most suitable template on the Checkout page…

Need a Hand?

Explore Our Support Articles

Start by choosing the area you need the most help with